Cream to butter to ghee and a few tasty by-products

So, butter first.

Butter is cream whipped until it separates into butter and buttermilk. It takes little effort. You can do a bit of it in a mason jar and shake by hand. This is a great “science” experiment with kids. Put some cream in a mason jar, put the lid on (tight!!), pass the jar with everyone shaking and pretty soon you have butter swimming in a bit of buttermilk.

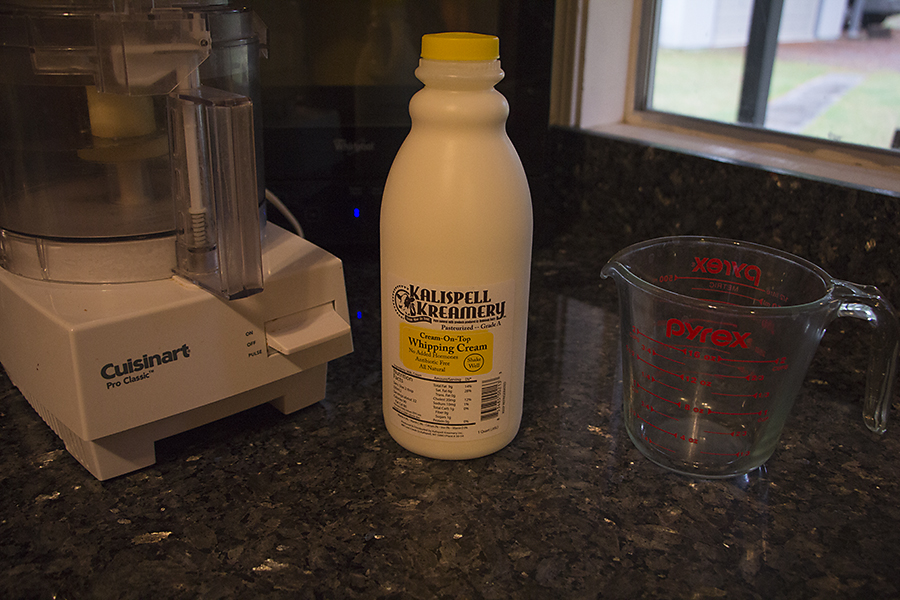
I take the 21st century automated approach and use a food processor. It is not that the grocery does not have good butter, but we are fortunate to have a wonderful local dairy that supplies the grocery and since butter (and ghee) is so easy and the dairy does not make either of those, I’ve been making butter and ghee from the local stuff.

And it is fun!

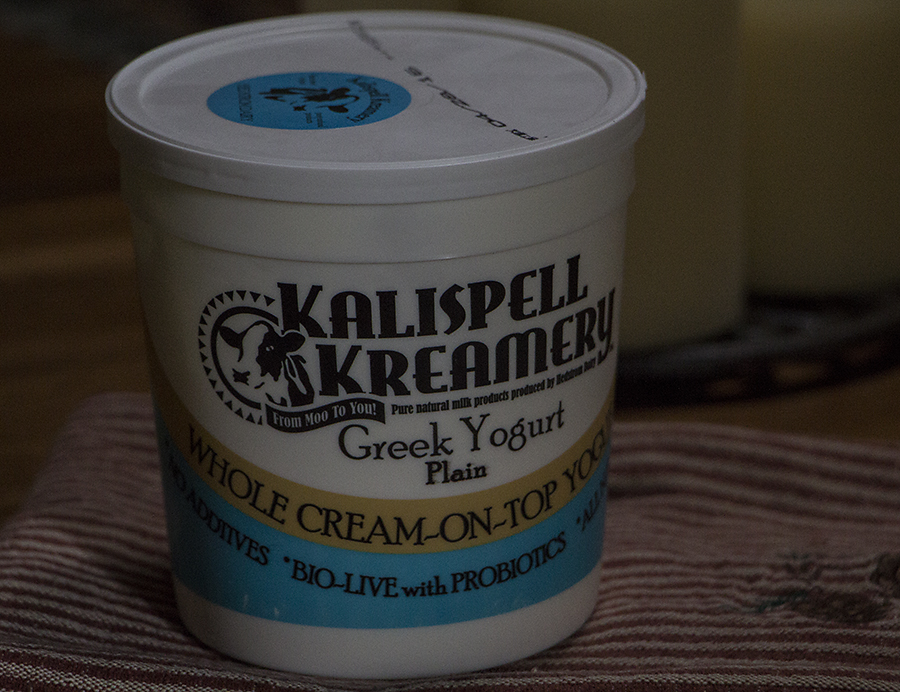
There is actually one step before the cream goes into the food processor. I culture the cream which entails stirring 2 tablespoons of yogurt into the cream and letting it sit in a warm spot for 12-24 hours. The dairy does not make butter but they DO make yogurt – yea!

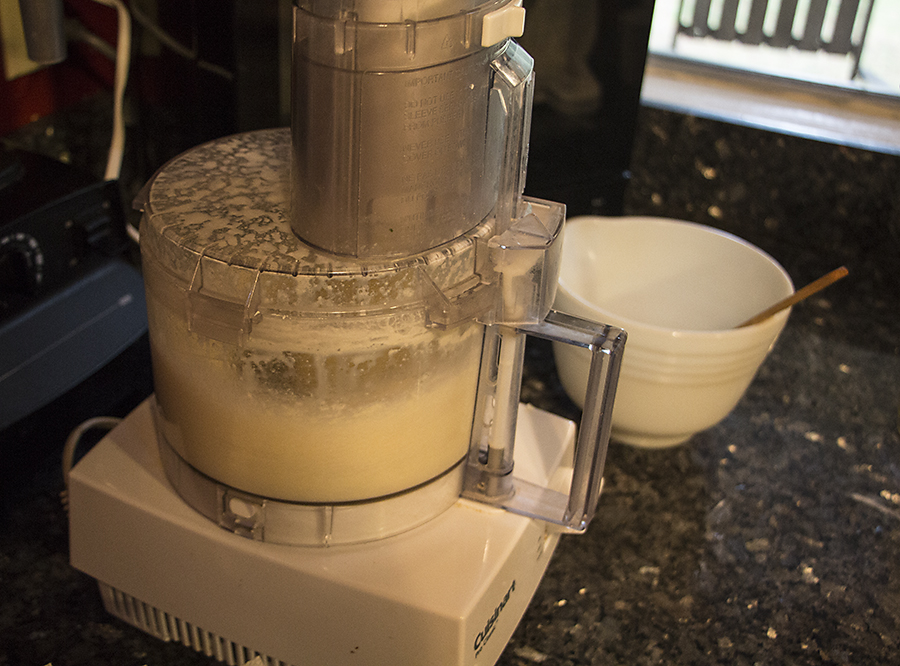
The food processor process is hands off for butter making: pour the cream in, fire it up and let it run. The cream first becomes “whipped cream” and then a few minutes more and the solid (butter) starts separating from the liquid (buttermilk). You don’t even have to be right there to know it is happening. The sound suddenly changes from a smooth mixing sound to a noisy thwap-thwap-thwap. Those splashes are from the buttermilk.

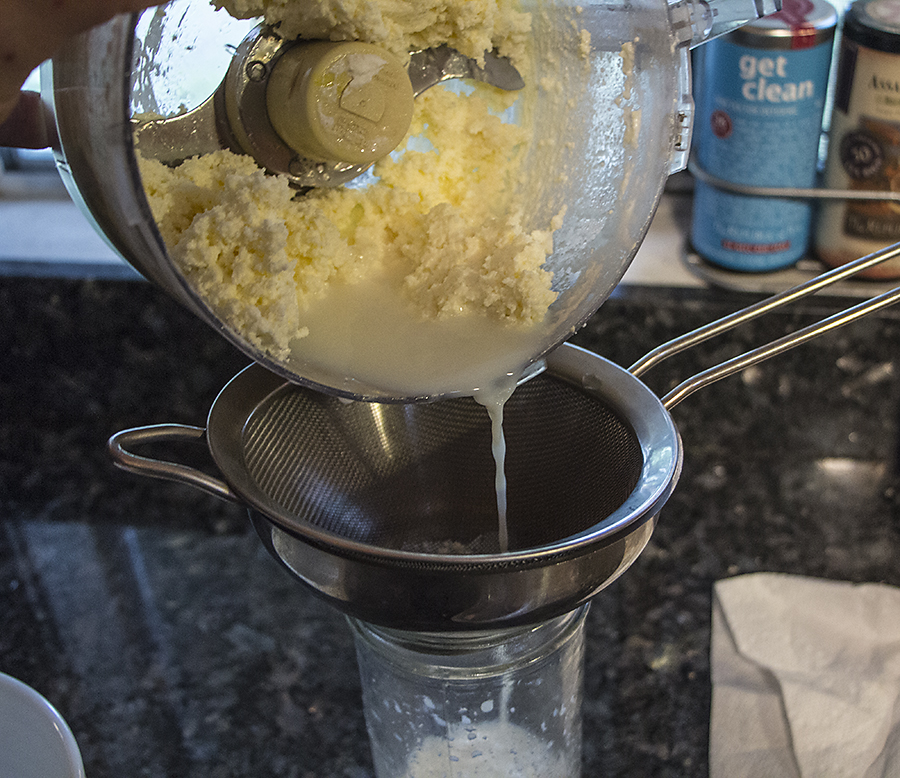
Pour off the buttermilk…
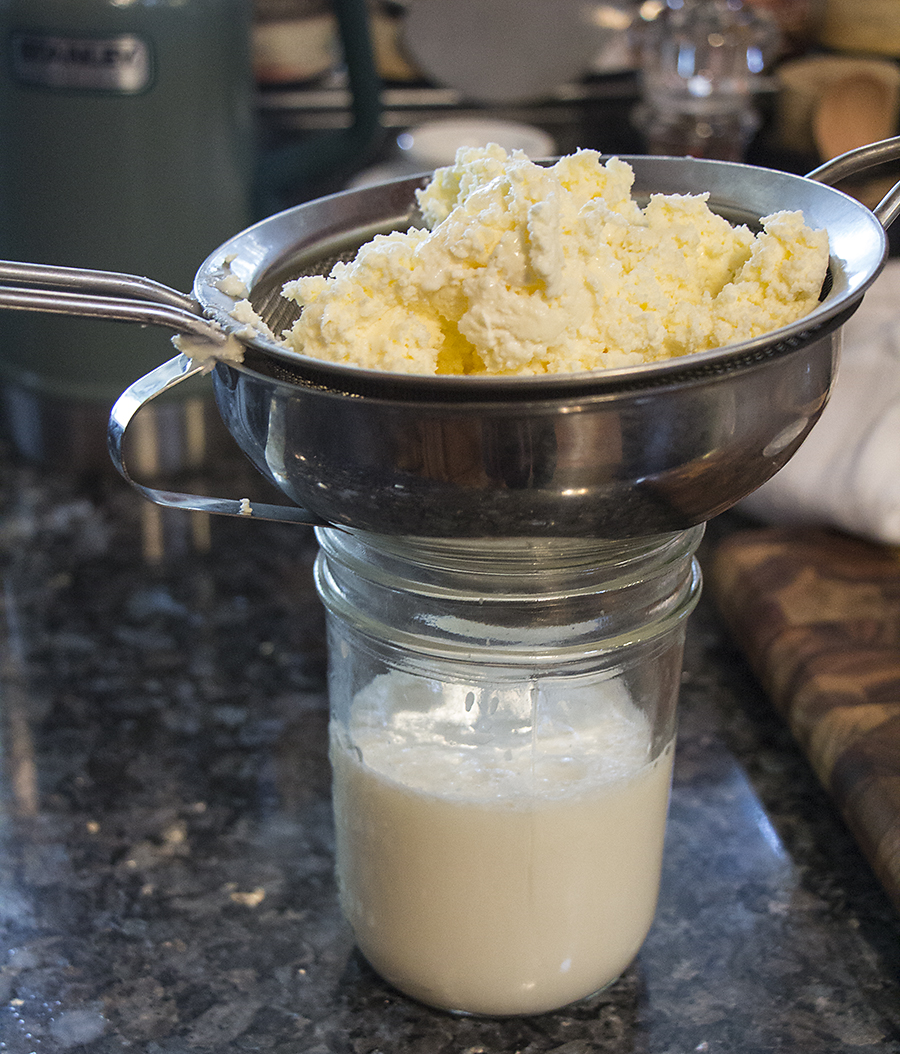
… and save it!

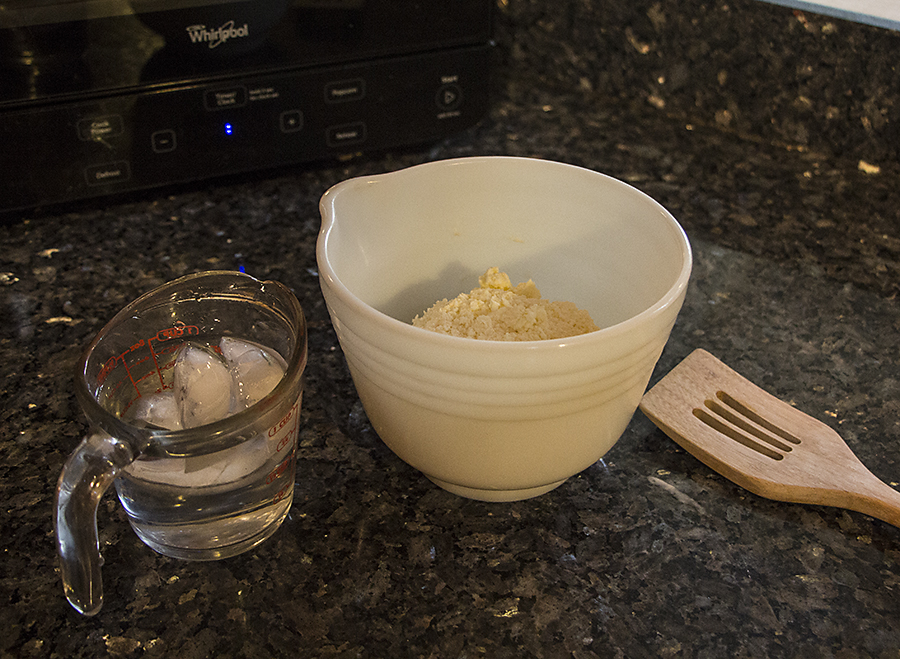
Next step is “wash the butter”. There is still some buttermilk in the butter, but 4-6 rinses with ice water and…
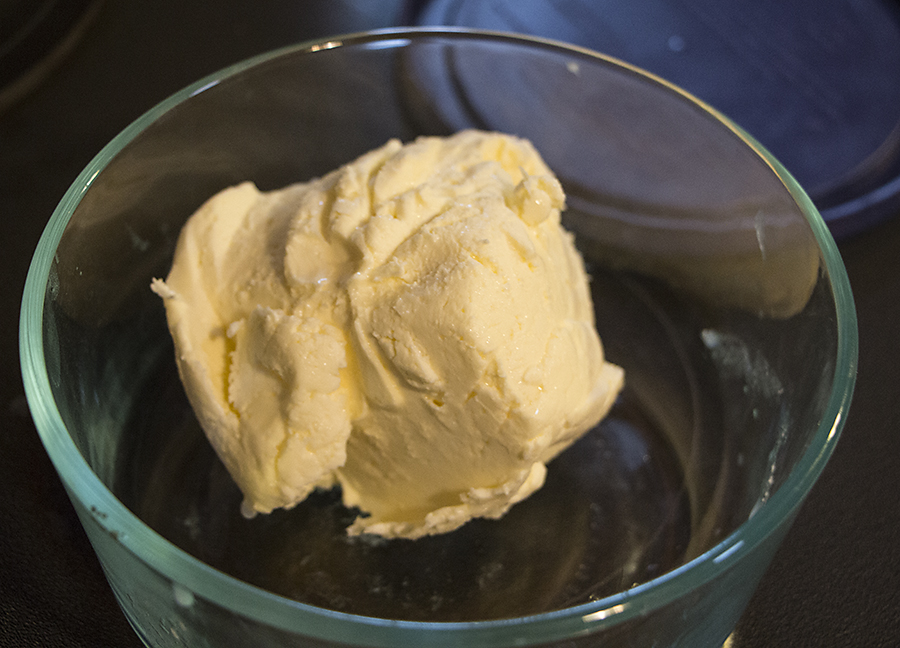
… Butter!

I let the butter sleep in the frig and make ghee in the morning because the small amount of solids left from making the ghee are wonderful on hot oatmeal.

The ghee making process is simple ( David Lebovitz’s ‘How to make clarified butter’ post ) and not all that photogenic.

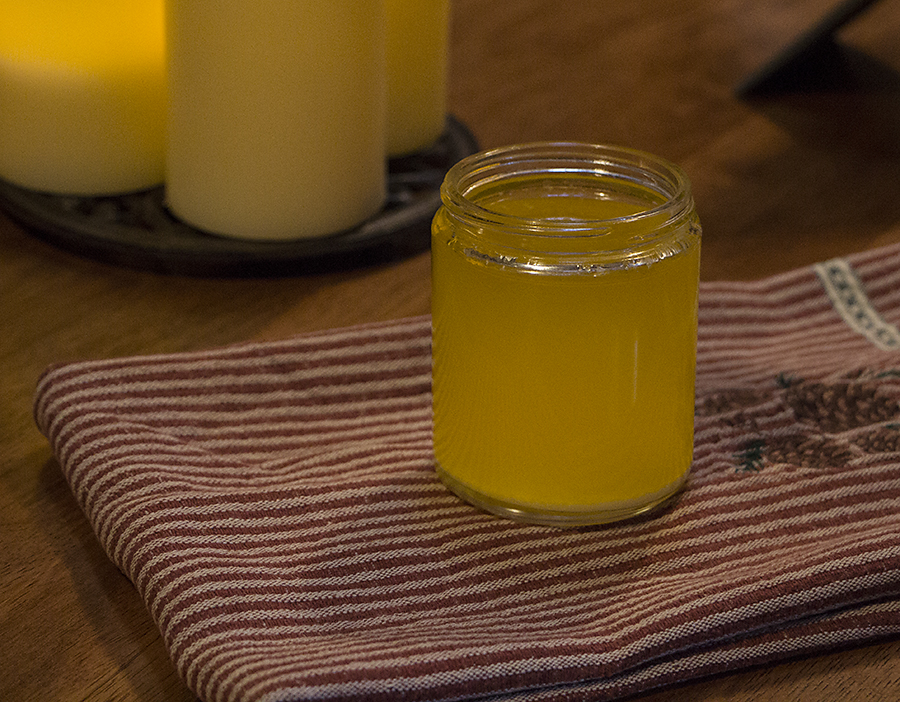
But, the ghee – the ghee IS photogenic: beautiful golden ghee. Ghee is clarified butter cooked a bit longer for a deeper flavor and color. Both ghee and clarified butter are naturally shelf stable and they have a much higher smoke point than regular butter.

A quart of cream (32 fluid ounces or 95 ml) yields 1 cup of buttermilk, 8 ounces of ghee and a couple of spoonfuls of butter solids.

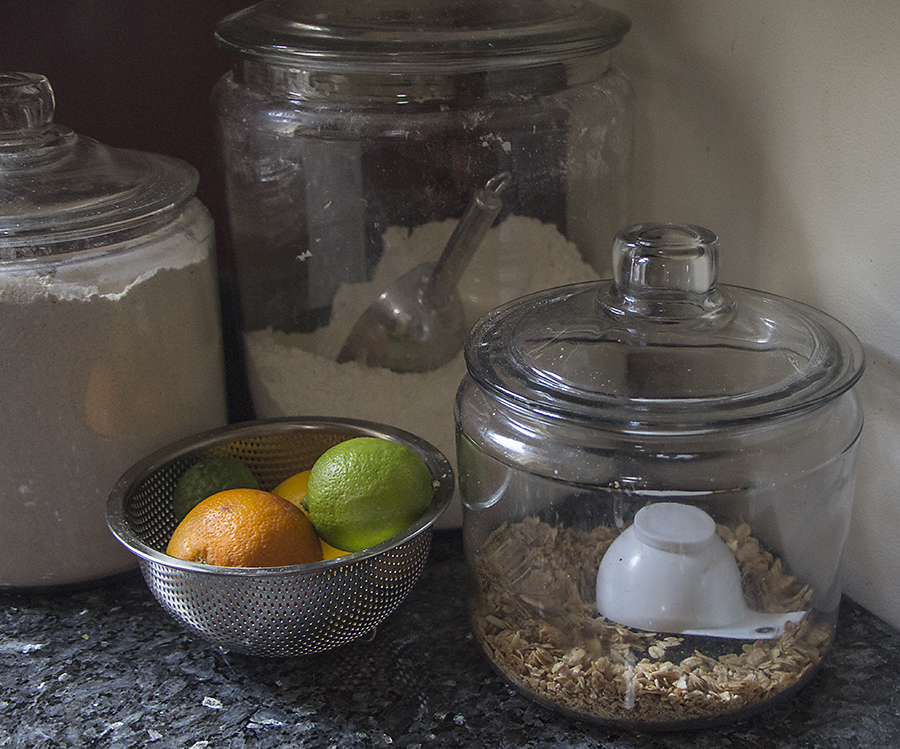
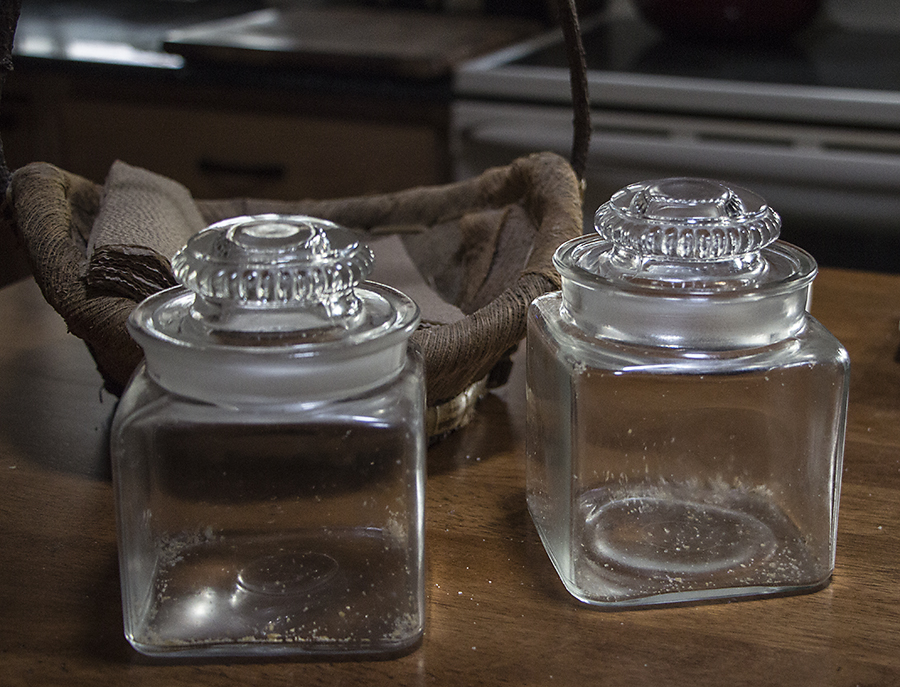
So, in my cupboard, is a fresh jar of ghee and with the buttermilk, I made:

Smitten Kitchen’s Carrot-Tahini muffin recipe made into a loaf (1/2 recipe) and also including raisins and walnuts.

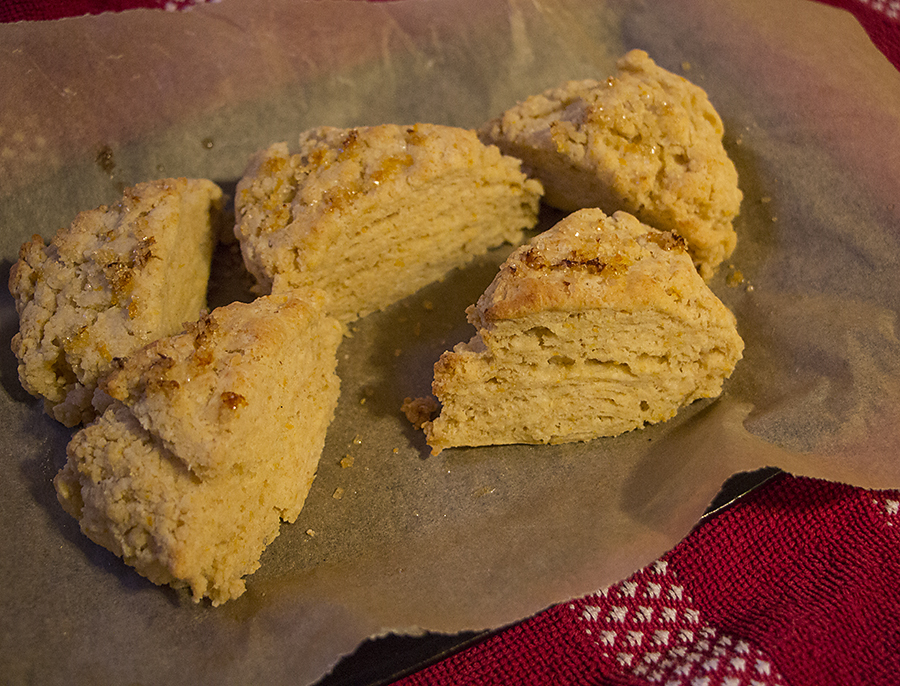
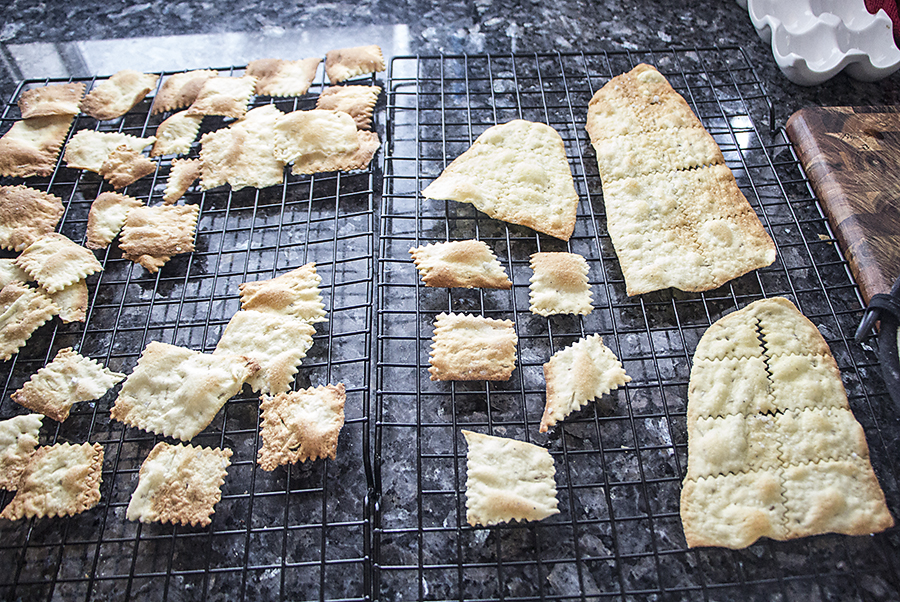
Mel’s Kitchen Café Scone recipe . I didn’t have cinnamon chips so subbed orange zest and almond extract with some orange zest in the sugar-butter-topping.

Bear was out for the count and entirely unimpressed with all of this productivity.

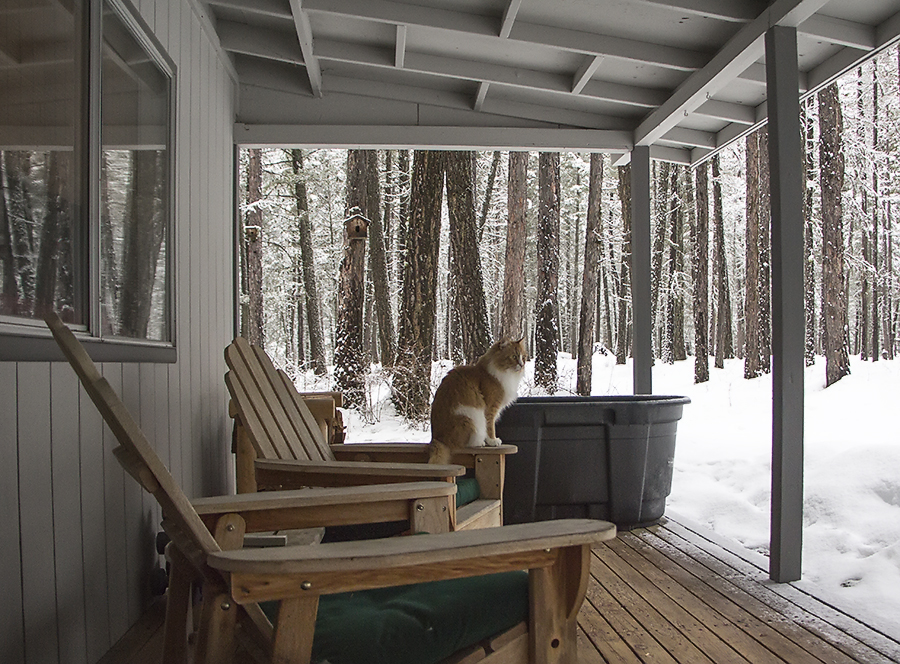
Auggie thought we should come outside since the sun was out…

I had another cup of coffee and a scone!

From my kitchen

I’ve been getting acupuncture and massage work about once a month since the beginning of the year. Monte, master acupuncturist and body worker extraordinaire plus a font of knowledge based in Chinese and Eastern practices, encouraged me to try meditation at home. He didn’t actually call it that, he suggested sitting quietly and paying attention to my breath for 5 to 10 minutes. For many years – 20 plus, I have started my day with some quiet time: prayer, stillness, scripture, music – but it is a time of quiet and stillness. So the thought of a meditation focused on my breath was not strange and in fact this is what Monte asks me to do when I rest with the acupuncture. I have been finding the practice to be of value to me in many ways and Monte tells me that my pulse and body are quieter, even when I first arrive after a 40 mile drive!

Walking in the woods with Bear and Auggie is another time of quietness. At least in recent years, I take a moment before heading out the door and consciously leave everything in the house and turn my mind to Bear, Auggie and the feel, sound and look of the woods. My mind sometimes wanders to a coding problem or this or that, but Auggie and Bear and the woods help yank it back to them. I come back to the house refreshed.

I find the same refreshment of mind and body in cooking and working in the kitchen. The nature of using sharp utensils, hot pans and just thinking about what I’m working with becomes a meditation of sorts, or at least tasks that require mindfulness – my full attention. Thoughts of work and life issues are left for the time I spend in the kitchen. I’ve also been thoughtful of how my kitchen looks and works so that it is a joy to me to be there whether it is looking out the window, gathering what is needed for my task or cleaning up. And, like walking in the woods, I am moving. Moving, after a time of sitting – it feels good!

Making bread or crackers or anything involved with working with a dough is especially restful and enjoyable to me … not to mention the anticipation of devouring the fresh made result! About a month ago, I saw information on a bread cookbook that looked interesting:

The Hot Bread Kitchen Cookbook: Artisanal Baking from around the World . I love this book: beautiful photos, interesting stories of the breads and the people who came together to make and teach about each bread and new recipes to try.

The words below, an excerpt from an author review blurb on Amazon, sum up my feelings about the book in beautiful prose by Peter Reinhart:

“…The Hot Bread Kitchen Cookbook is more than just a book of great recipes—it is an inspirational collection of life lessons and stories about people who, every day, make a difference while making beautiful bread and great food.” —Peter Reinhart, author of Bread Revolution

The first recipe I tried is the cover recipe for Nan-e Barbari, a crispy Persian bread. This recipe is basically a 100% hydration dough as I typically make, but the uniqueness comes from both the shape and a wash of roomal which is a flour-water-sugar-oil paste. The roomal is an ancient technique which makes for a crisp crust without steam. Modern bakery ovens are steam ovens and create crisp crusts with steam. My own oven is not sealed well enough for steam and typically requires baking in a cast iron dutch oven to achieve the very crisp crust. I have come to really love this technique with roomal and a flat dough AND I’m able to bake it on a cast iron platter in my toaster oven. Total success!

Making the roomal. The flour-water-sugar-oil mix is heated until it becomes thick. And while we are here – THAT is an induction burner. As my current electric range/double oven combo limps along, I’ve been giving thought to what to do if/when it fails. I learned about induction and wanted to give it a try, hence the induction burner. It is like cooking on gas without the flame as the heat is able to be set high or low or off immediately. All works much faster and supposedly with less energy consumption than an electric cooktop. I am sold! (Induction Cooking)

To prepare the dough for baking, I grab a small handful of dough … bigger than a golf ball, smaller than a baseball – and spread it with damp hands on a piece of parchment. Next, spread the roomal over the surface of the dough and sprinkle with seeds – I’ve been using a King Arthur Flour “artisan bread topping” mix of seeds.

Meanwhile, I set my small cast iron platter in the toaster oven and let them preheat to 450F.

The bread bakes on the parchment, on the platter for 12-15 minutes.

Puffy, crispy crust …

An airy crumb – Perfect! I use it cut into crispy “soldiers” alongside salad, soup or anything with a broth to sop up. I also split it lengthwise for a thin, crispy sandwich. It has become my favorite way to bake a bit of bread for my day. With my refrigerator dough, the roomal wash and the fast heating toaster oven, I can go from thinking about this bread to enjoying it in about 30 minutes. 30 minutes of quiet time in the kitchen.

And now …

… it is time for a walk in the woods, with the patiently waiting Bear and Auggie.

The week

All is well with all of us, it was just an intense and full work week. After feeding us all, making sure we played and exercised, doing the work and sleeping … that was that for the week!

It was mostly Spring-like outside, except when it wasn’t…

This happened for about 20 minutes on Thursday.

Bear was not bothered. Auggie was out and about on his morning hunt and the snow shower did not bring him home so I guess he was not bothered either.

By yesterday (Friday) morning, things were a bit dire around the kitchen:

… almost empty granola jar…

… completely empty cracker jars! Even my backup pack of saltines was gone.

I enjoyed a relaxed day in the kitchen as it alternated between clouds, rain and sunshine.

Granola soon to fill the granola jar.

Cracker jars topped up.

I have nothing that I must do tomorrow, Sunday, and am looking forward to my day of rest.

The week.

Not my Grandma’s pressure cooker

I’m not sure how accurate my memory is regarding my Grandmother Ruthie’s pressure cooker, but I do think I remember correctly the Swiss Steak she made with it. I’ve been thinking about that Swiss Steak … and I have no idea why it’s called Swiss Steak – it is an inexpensive cut of “steak” that is cooked low and slow with a tomato-mushroom-beef broth. The result is a fork tender dish of meat and sauce typically served over mashed potatoes or egg noodles. Mashers is my preference!

I bought a pressure cooker cookbook some time ago on a hunt for a recipe. I have gone back and forth about getting a pressure cooker as they were somewhat out of favor for a time due do their tendency to explode if not operated correctly.

Recently, more attention has been given pressure cooking with newer and safer stovetop cookers as well as electric pressure cookers. Enter the InstantPot with the current model being a 7 in 1 multi-cooker. It pressure cooks, slow cooks, sautes, steams and makes yogurt. It has automatic buttons for rice, beans and porridge. Is that 7? Anyway, it does a lot and after my food blogging hero, Mel of Mel’s Kitchen Cafe, wrote an extensive post on pressure cooking stovetop vs electric…I succumbed.

And then I made Swiss Steak.

I started with a quick saute of onions and mushrooms and browning of the beef. My first go so I went with a small test amount.

Next I dumped in some tomatoes, water and then set the cooker to pressure for 18 minutes.

Set the Vent to Pressure vs Steam.

The InstantPot takes about 8 minutes to come up to pressure and then starts counting down…

13 minutes to go.

After the 13 minutes (18 minutes total), it automatically changes to “keep warm” mode and starts counting up so you know how long it has been in “keep warm”.

Fork tender meat – yea!

Swiss steak that fit my memory, a rough mash of red potatoes and kale with a side of local made sauerkraut.

I call that a good supper! It might not be my grandmother’s pressure cooker, but I think I came pretty close with the Swiss Steak. From the first chop on an onion until I sat down to eat was 40 minutes and 30 of that was hands off, sitting in my chair and relaxing with Auggie.

I’ve used the Instant Pot for beans, rice, yogurt, hard boiled eggs, soft boiled eggs and now the Swiss Steak. I’m still learning, but have no regrets about this addition to my kitchen tools.

Meanwhile… Cat on a cold front porch.

Gone crackers!

I’ve written about making crackers and about making sourdough crackers.

Homemade crackers are so good and so much fun to make.

Just before Christmas, I saw this recipe and gave it a go … with my own modifications. (my recipe at the end of this post).

In addition to a new recipe, I’ve been using a pasta roller to roll the dough versus rolling by hand. The benefit is that the dough is rolled evenly and bakes evenly. If you have a pasta roller with the typical 0-9 settings, I roll to 4 for “saltine” thickness or 5 for very thin, “potato chip” crispy thickness.

…the assembly line.

I start with a golf ball sized piece of dough at setting 0.

After the roll at zero, I flour and proceed. I flour again between 3 and 4.

This is rolling at setting 3.

I score the dough with a pastry cutter. It does not really cut and does not harm the silpat. Then brush with a wee bit of olive oil and sprinkle some coarse Celtic salt.

After baking, the oblongs break apart at the score lines…

…and we have crackers!

My adaptation of this recipe: above photo is below recipe doubled.

Cracker mix:
75 grams Semolina flour
228 grams All Purpose White Flour (I use Wheat Montana)
1 T nutritional yeast (optional, but adds a bit of subtle “cheese” flavor and some extra nutrition)
Lemon pepper & rosemary (approx. 1 tsp lemon pepper and 2 tsp rosemary ground together) ***
2-3 T olive oil plus another T for rising
1/4 tsp sea salt (fine ground)
1 tsp instant yeast
3/4 cup warm-hot water

Topping:
olive oil
coarse ground sea salt

more flour for rolling

Mix all cracker mix ingredients in medium-large bowl. Knead briefly until dough is smooth – it will be sticky. Cover with plastic wrap and refrigerate for 6 hours minimum … I’ve kept it refrigerated for 48 hours with no problem. (put some olive oil in bowl and spread with hands – add dough and turn dough so it is coated with olive oil)

Remove dough from refrigerator 1 hour before baking. Preheat oven to 375F. When ready to bake, briefly knead dough – it will “collapse”. Prepare baking pan with a silpat liner.

Pinch off golf ball sized pieces of dough and roll in pasta roller to 4 (saltine thickness) or 5 (thin “potato chip” thickness”). Flour dough between settings as needed.

Place dough on silpat. Score dough with pastry cutter to desired size or leave unscored and break rustically after baking.

Bake for 9-14 minutes – time will vary depending on thickness and your oven. Make a small batch(es) until you know how long for your conditions. Crackers go from done to burned quickly so you need to watch carefully and test with your oven and your rolling thickness.

Transfer lightly browned crackers to cooling rack for several minutes and then break apart along score lines. Cool completely before storing in airtight containers.

I’ve kept these for 7 days and they were fine. I’m guessing they will go longer, but ???

***you can use any combo of spices/herbs that sounds good to you. Another favorite of mine is fennel and thyme. I grind them with together (mortar and pestle) and eyeball the amount depending on how much flour mix I’m making.